Ramps 1.33 by geeksbase.com
18. November 2012
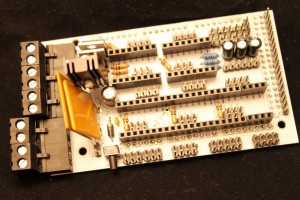
Geeksbase Ramps PCB V1.3
This is our new complete electric for the reprap printers on one PCB. Base is the arduino mega!
We changed some things to make a better reprap-pcb.
advantages:
The PCB can manage two extruders!
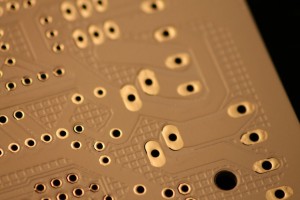
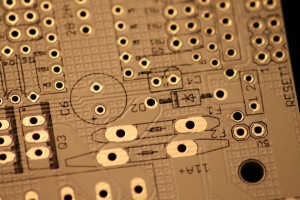
All traces are bigger to provide a better current flow!
On the whole pcb we designed a “hatch”. The effect of the hatch is that the whole PCB works as a cooling element! So all generated heat discharge perfect and the operating temperature stays in a perfect range.
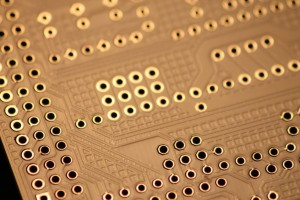
All screwed contacts where replaced against male/female connectors.
So you could change the whole electric and single parts really fast. We dont use many SMD-parts. So the stepperdrivers are replaceable. We only deliver the Pololu A4988, which has a automatic overheat-automatic
With the Arduino Mega as base its possible to build reams of addons. (like display, keyfield, etc.)
Geeksbase Hotend assembly
3. November 2012
Today how to assemble our Hotend in V1.0.
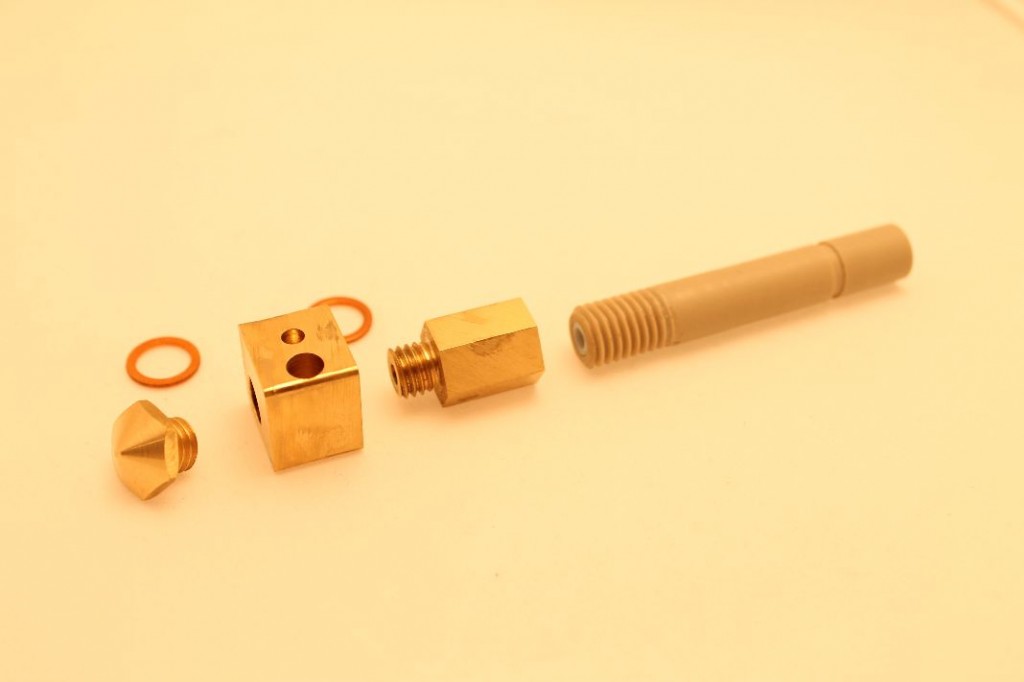
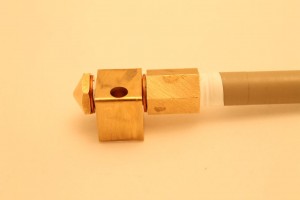
First you need all parts of the Hotend:
+nozzle
+heatblock
+adapter
+peek-isolator
+2x copper-washers
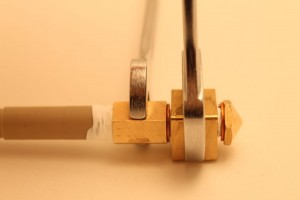
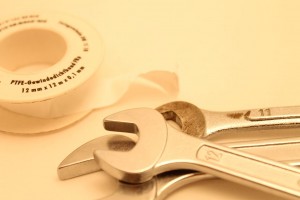 Although you need some wenches and a roll of Teflon-tape.
To screw everything tight together use the wenches. The teflon works like a seal.
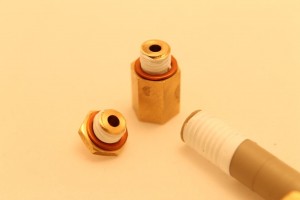 First you have to put the cooper washers on the threads, next wind the Teflon-tape around them.
Screw everything loose together. Then take the wenches to screw everything tight.
Be careful and remember after tight comes loose.
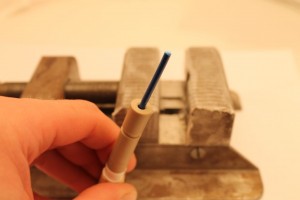
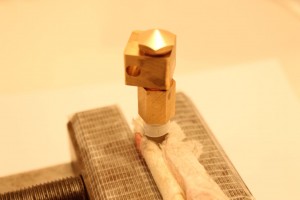
Now take a bench vice. Put some filament into the peek-isolator to avoid squeezing the isolator together! Although take a piece of paper to make sure that the isolator don’t gets damaged.
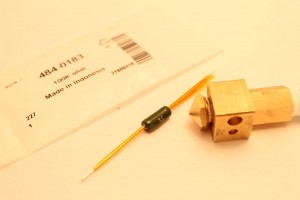
Now where everything is fixed you need the heat-resistor and the temperature sensor.
I isolate both with kapton. So i could be sure tthat there is no short in the circuit.
 With the temperature-sensor its a bit hard to isolate him. But with some to time you get it.
Otherwise it will not show the right temperature.
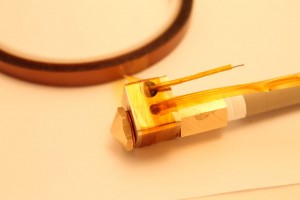 Now take a small roll of kapton and warp it around the heat-block. Make sure that the heat resistor and temperature-sensor sits right in position.
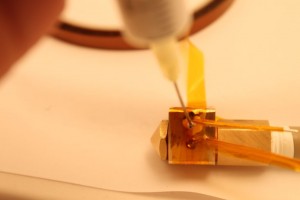 Now take some heat-paste and fill of all space with air. Its important so you could be sure. That the temperature-sensor reads the right temperature and the heat resistor works for a long time.
Ready for use. Some tips for starting the hotend for the first time, i will give you in a few days!

